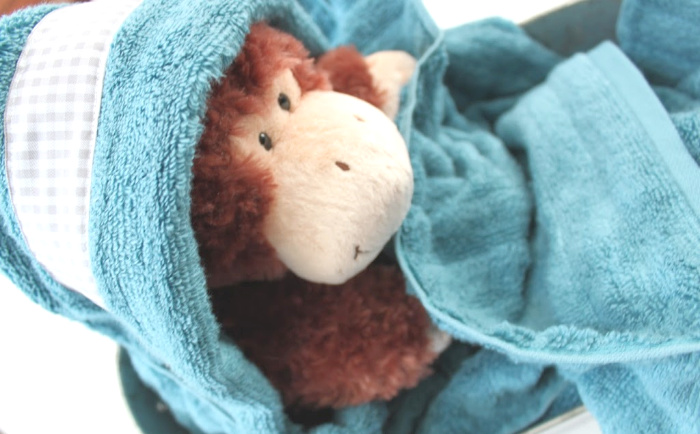
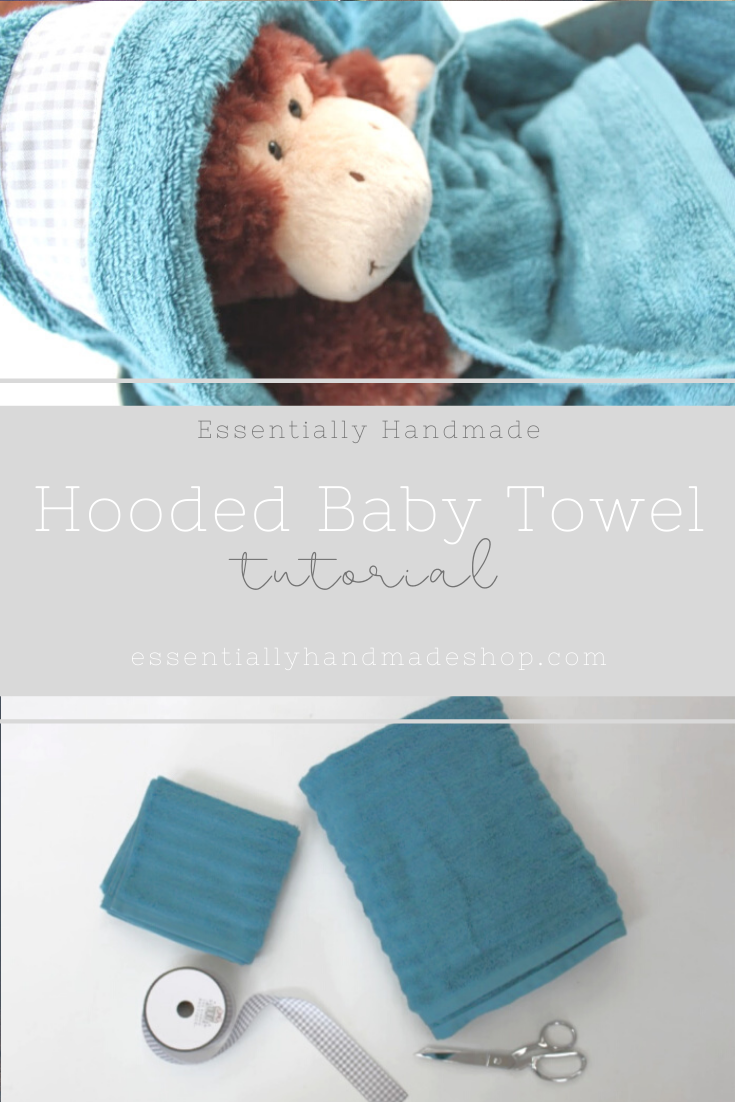
If you’re looking for a great baby gift that will live on well past the newborn stage, a Hooded Baby Towel fits the bill! I have been making these towels as gifts and for my shops for years. It never gets old when a friend sends me a picture of their big kid wrapped up in one of my towels! Now you can make some too!
Hooded Baby Towel Materials
This post may contain affiliate links. If you click on one of my affiliate links and make a purchase, I may receive a commission for referring you. This comes at no additional cost to you.
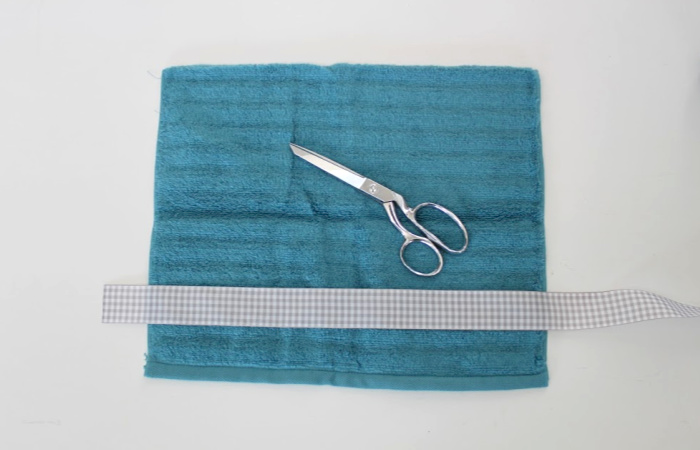
In order to make a Hooded Baby towel you just need a few supplies. First, get a full size bath towel, a hand towel, coordinating ribbon, a sharp pair of scissors, and thread. You can find great towels at Walmart and Target. I usually get my ribbon at Hobby Lobby on the half off weeks.
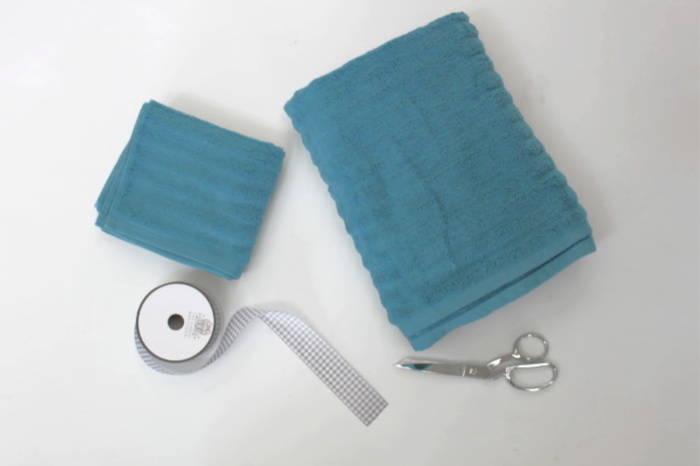
Also, you’ll need a sewing machine. If you’re a beginning sewist, a standard sewing machine is all you should need. You’ll be using a straight stitch and a closed zigzag.
Let’s get things ready!
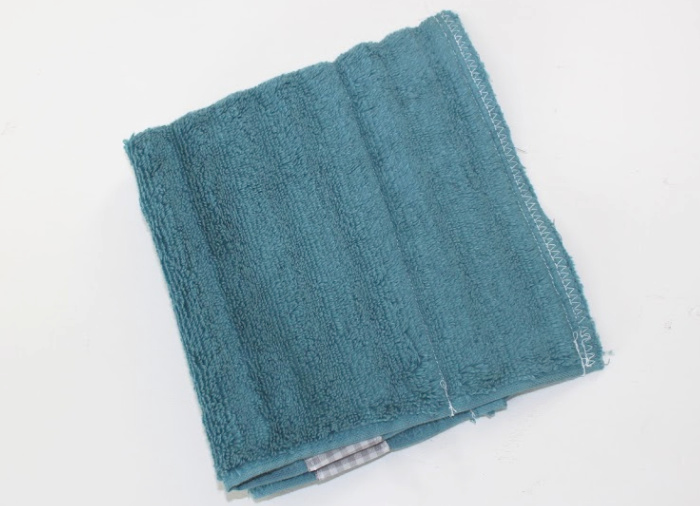
Next, you’ll need to get the hand towel ready to transform into the hood. Take the hand towel and fold it in half. Short side to short side.
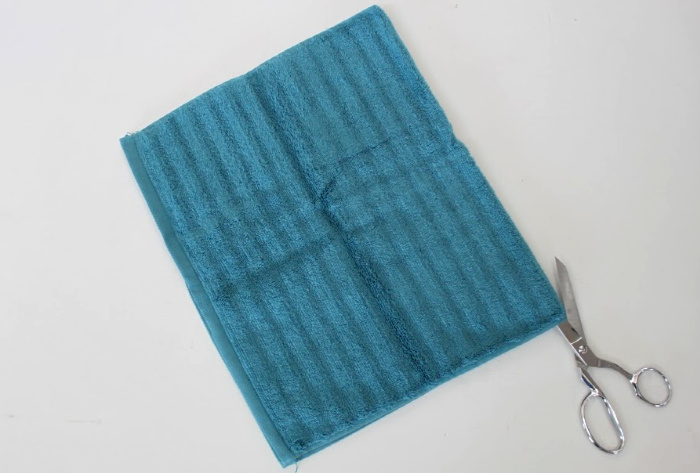
Then, cut right down the fold. Set aside the second piece to make another towel later.
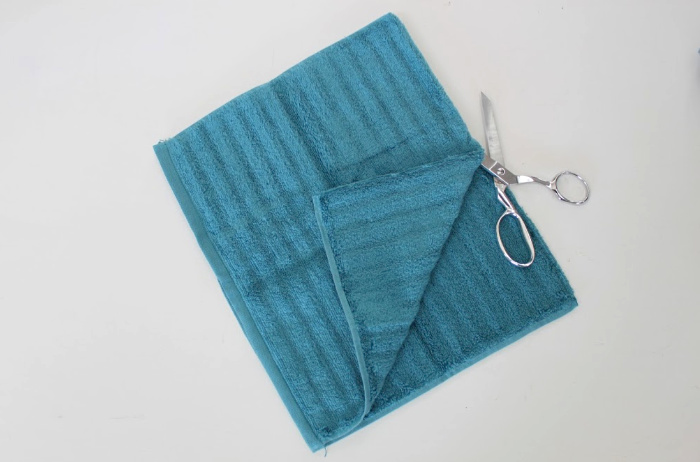
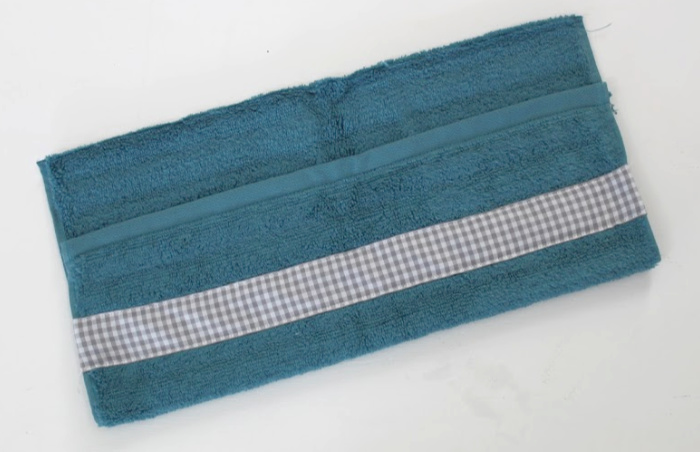
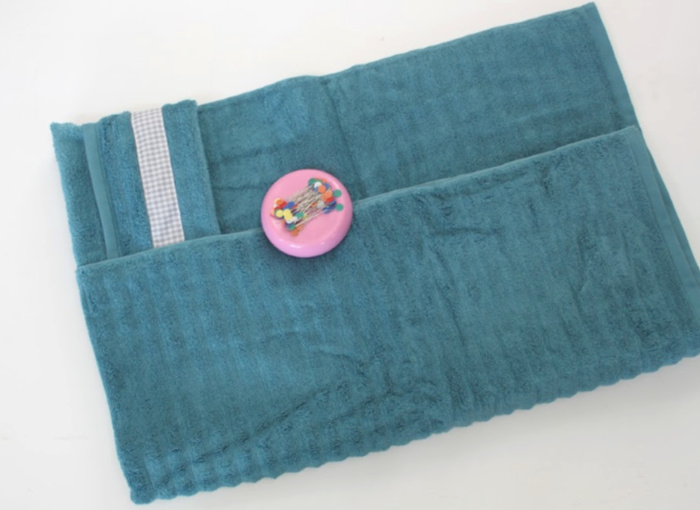
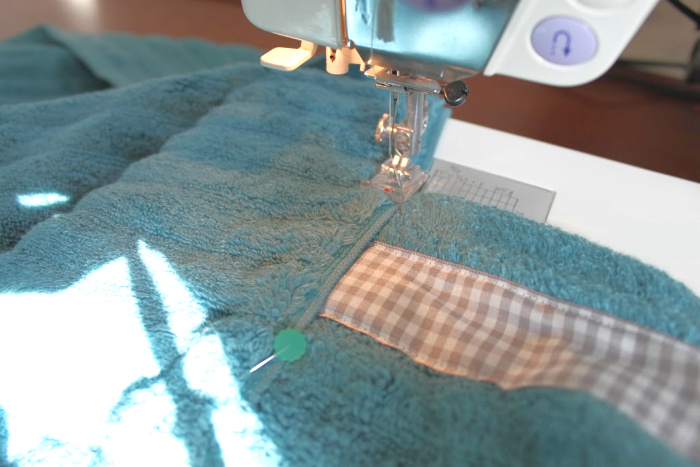
After that, lay your ribbon across the top or right side of the towel about 2 inches from the edge. The ribbon should have an overhang of about 2 inches.
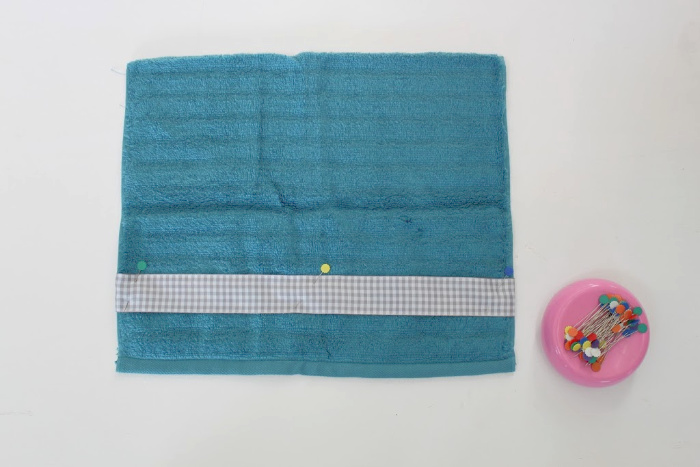
Trim the ribbon and fold it over the edges. Next pin it in place. I love these straight flat pins for sewing. They stay out of the way and work great! I usually pin at each end and then once or twice in the middle of the ribbon. These keep it in place and lined up.
Now you’re ready to start sewing! My favorite part!
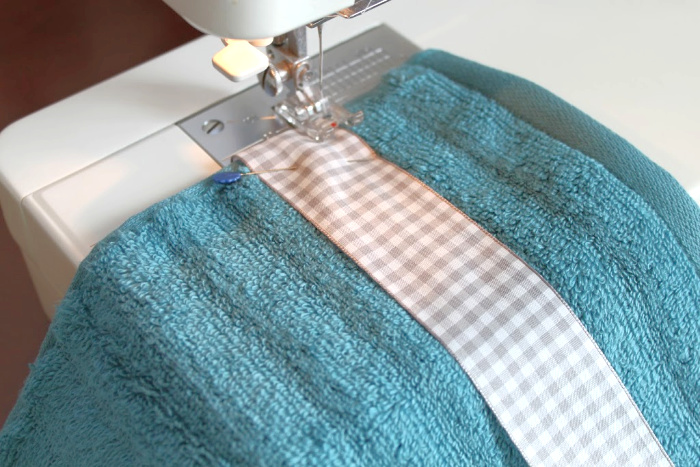
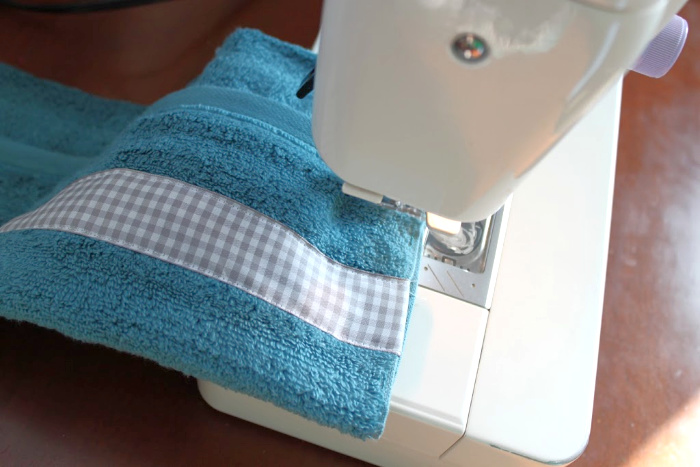
You’ll be using a straight stitch to attach the ribbon. I usually use a 3 on my machine for the length of the stitch. Start at one end and continue to the other side. Place your presser foot down close to the edge of the ribbon. Remove the pins as you go. Sewing machine needles and straight pins do not get along.
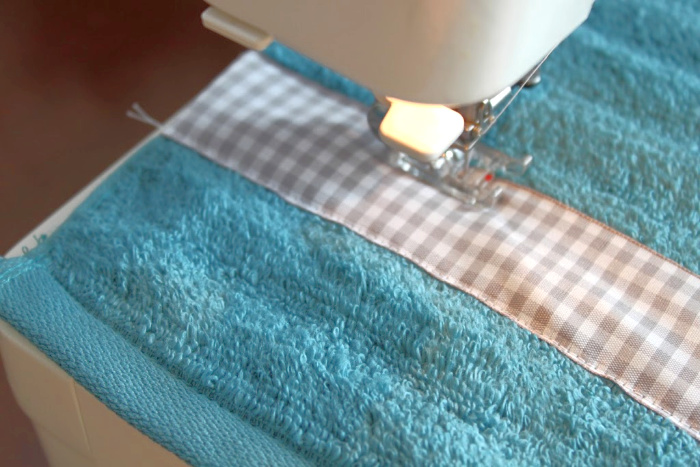
Once you’ve finished one side flip it around and start on the other side of the ribbon in the same way.
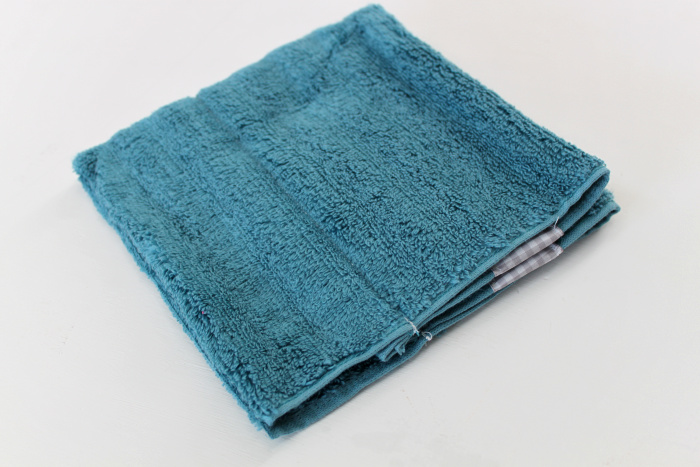
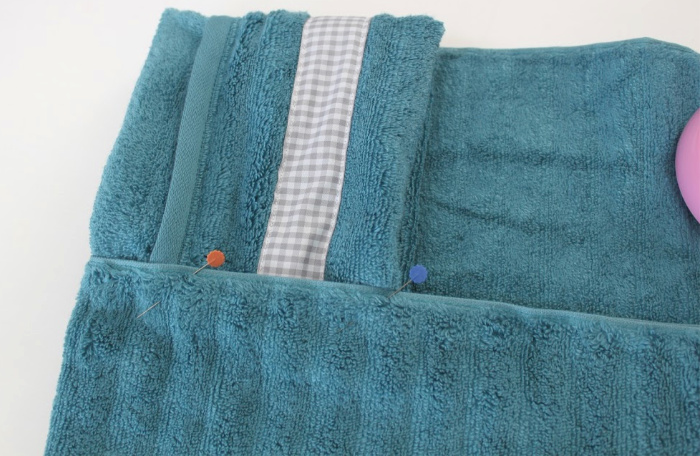
Your next step is going to be to fold the towel over to start the shape of the hood. Fold the ribbon side over onto the inside of the towel. Leave a space of about 3 inches from the cut edge.
Starting at the edge of the fold sew a straight line from side to side. Be sure to use a back stitch at each end reinforce the edges.
For the next step you fold the towel in half. This will give you the hood shape. Make sure all of the edges are squared up and pin the cut edges together.
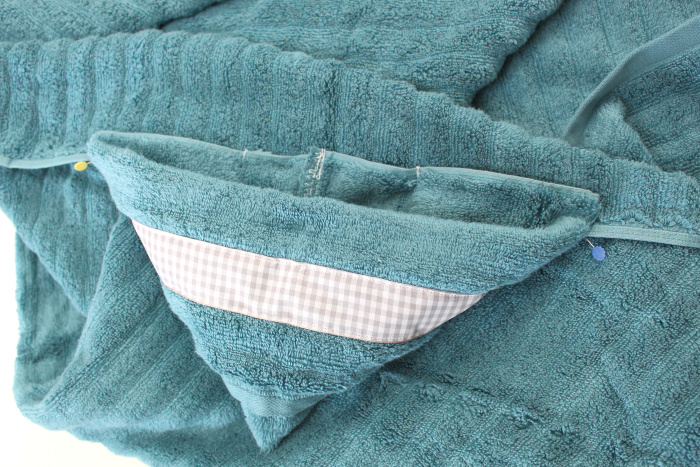
Back to the sewing machine. Use a straight stitch about 1/4 inches or the width of your presser foot in from the cut edge. Again use the back stitch at each end for reinforcement.
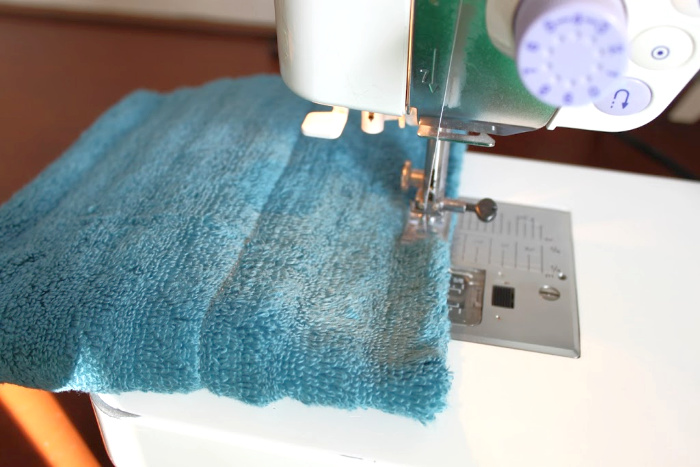
Go back over the edge with a closed zigzag to keep the hood from fraying. If you have a serger, you could serge the seam.
You’ve made it to the last step!
Finally attach the hood to the bath towel.
I find the center of the bath towel by folding the towel in half, short side to short side.
Line up the center of the hood with the inside of the center of the bath towel. Pin on each side about 1/2 inch from the edge of the bath towel.
Return to the sewing machine and straight stitch the hood to the bath towel. Be sure to reinforce the edges by back stitching several times! Trim off any stray thread from the edges.
There you have it! A beautiful and practical baby gift any mama will love!

If you’re not into sewing, but still want a beautiful gift, head on over to the shop to buy a Baby Gift Set today!
Pin it for later!
One thought on “Hooded Baby Towel Tutorial”
Comments are closed.