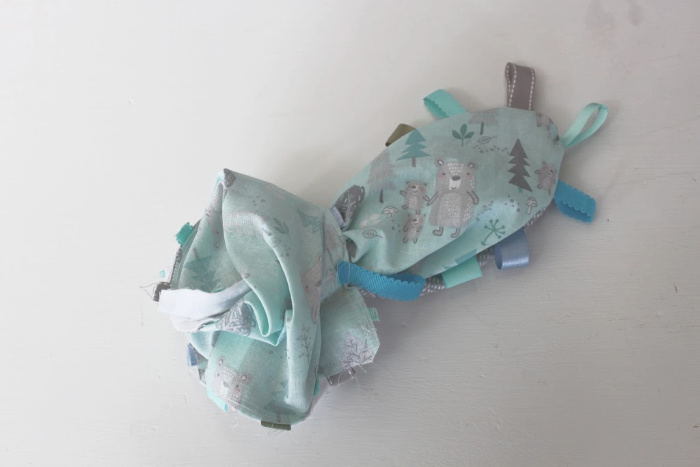
Now that you’ve got a sweet hooded baby towel, how about adding another goodie to your baby shower gift? This Baby Taggie Blanket Tutorial will be sure to help you create a gift to keep little hands busy!
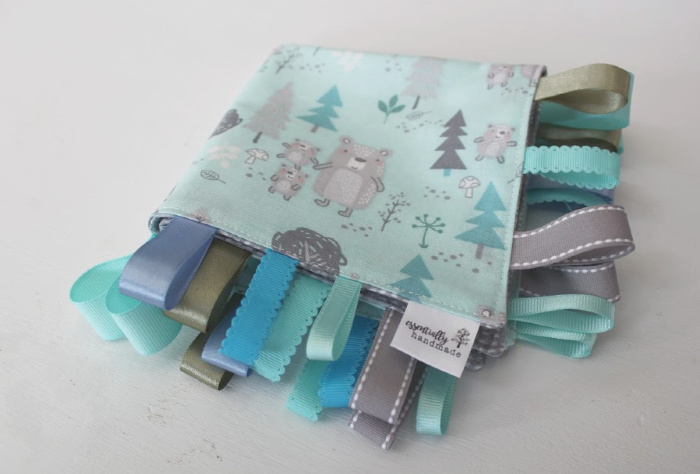
Babies love texture and color, so grosgrain and satin ribbons are excellent at holding the attention of their fresh minds. Mixing up the colors of the ribbons adds to the interest.
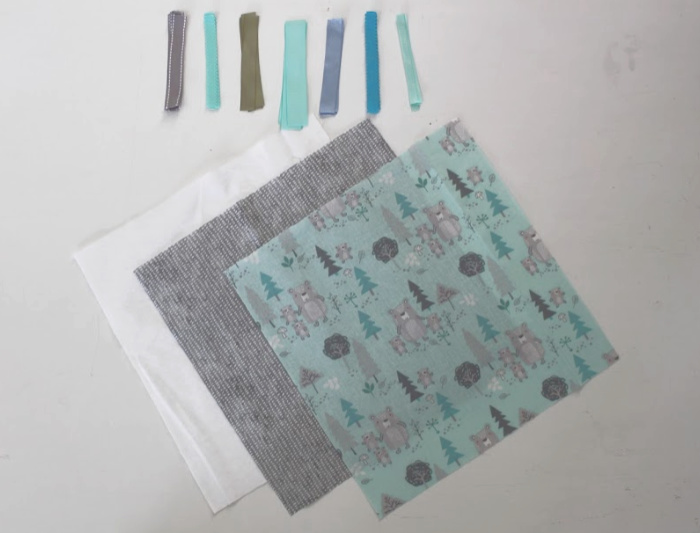
What You’ll Need
This post may contain affiliate links. If you click on one of my affiliate links and make a purchase, I may receive a commission for referring you. This comes at no additional cost to you.
First, you get to find an adorable print and coordinating fabric. Also, you will need some white flannel. Purchase 1/2 yard of each fabric. {You’ll be able to use the extra for another project} Next, make a 12 inch square from each piece of fabric. After that, you will need to choose 7 different ribbons. Cut four 4 inch to 5 inch pieces from each of your ribbon choices, so 28 pieces in total. You are making a set for each side of the fabric.
Often times I use the baby registry to help me pick out the colors and fabric for the taggie blankets.
Make sure you have straight pins, thread, a corner tool, and a sewing machine.
Baby Taggie Blanket Tutorial
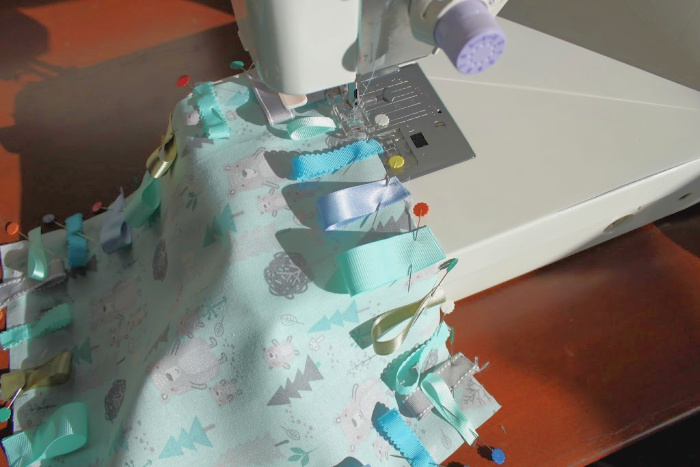
Now that everything is cut, it’s time to put it all together! First step is attaching the ribbon to the main fabric print. You will fold the ribbon in half and pin it with the fold on the inside of the fabric. Space the pieces of ribbon about 1 inch apart.
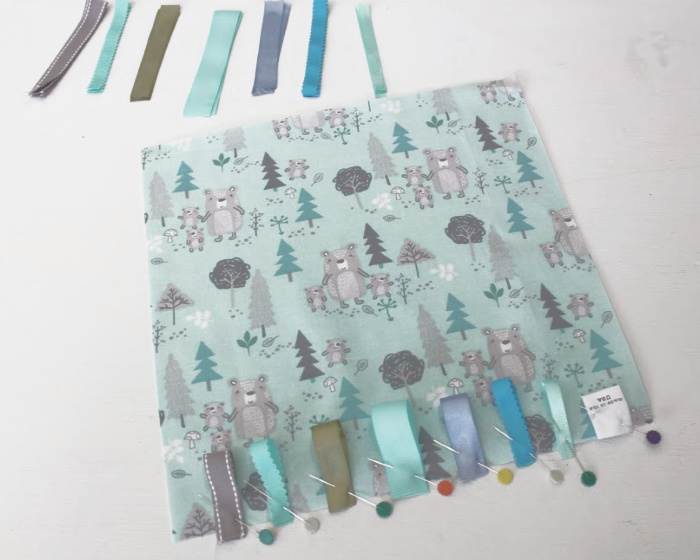
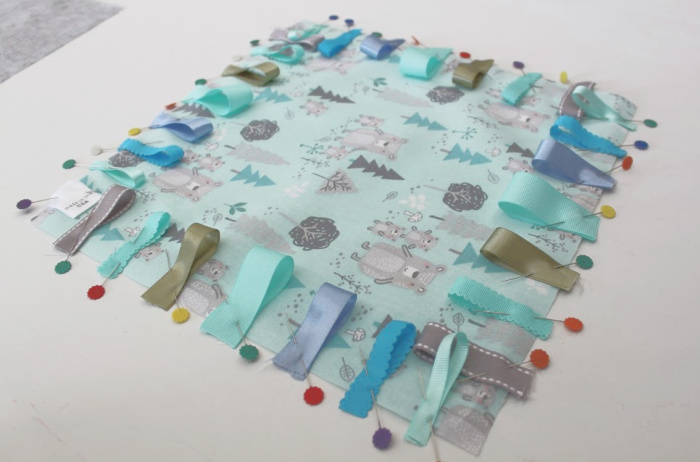
Repeat on the other three sides until you have used all of the ribbon. It is best to place the ribbons in the same order on each side for a polished look.
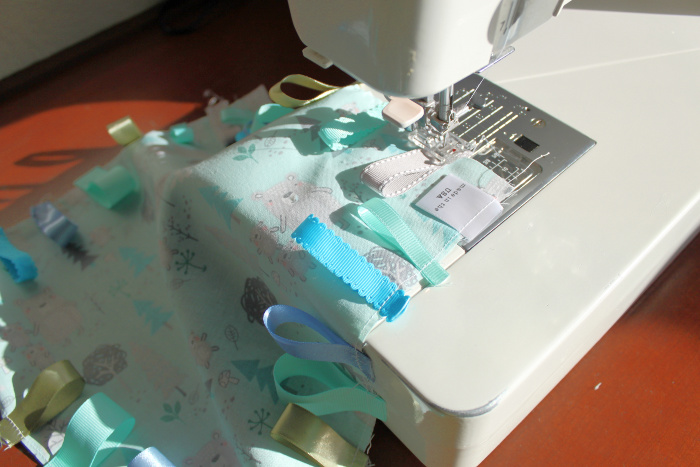
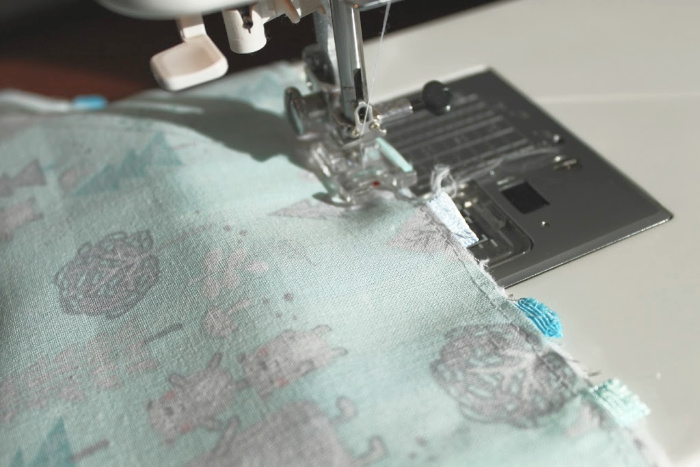
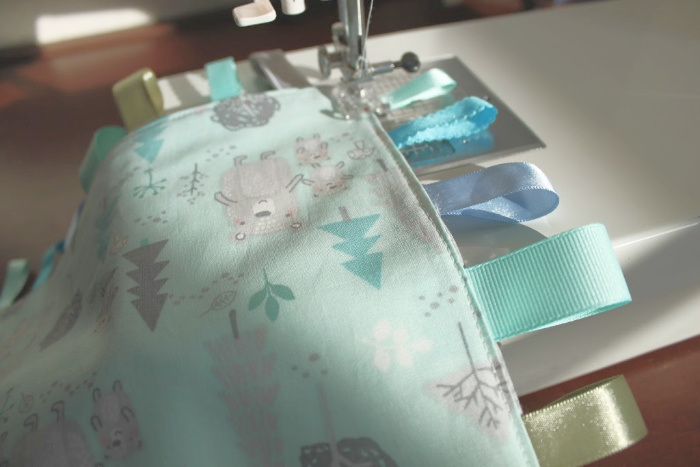
Next, head over to the sewing machine. I use a 3 length stitch to tack down the ribbon to the fabric with about 1/8 inch seam. Remember to remove the pins as you go, so they don’t come into contact with the sewing machine needle.
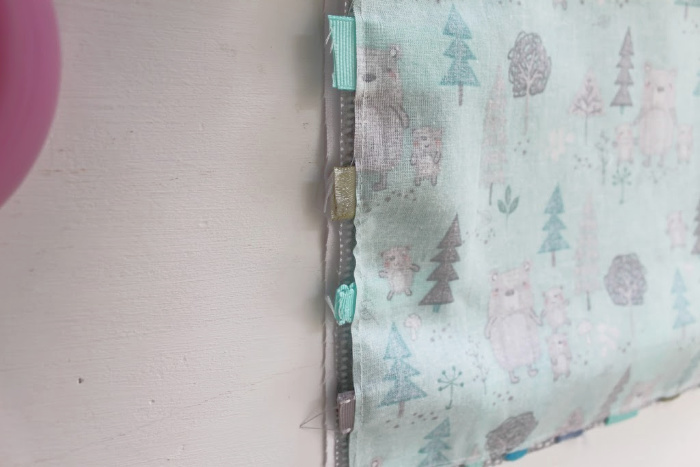
Continue around all four sides until the ribbons are all secured.
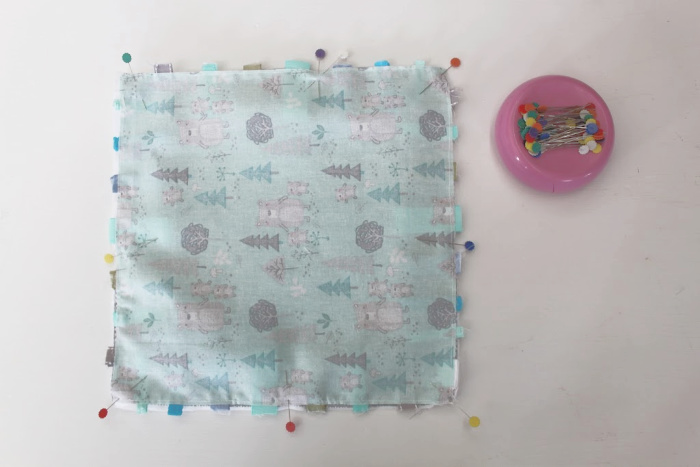
Now you’re going to make a fabric sandwich! Place the coordinating fabric right side up on top of the piece of flannel. Then, place the fabric with the ribbons right side down on top of the coordinating fabric.
Square up the corners and pin the three pieces together. After that, place one pin in the middle of each of three sides. On the fourth side place two pins in an “X” formation. That is where your stitching will stop.
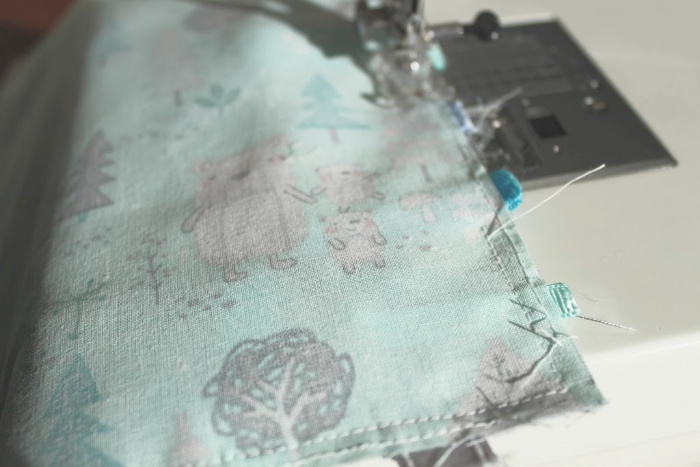
Move back to the sewing machine. Find the side with the “X” pins. Place the presser foot two pieces of ribbon over from the “X” pins. Begin stitching at this spot. Be sure to do a back stitch at the beginning and the end of your opening.
Sew at about a 1/4 inch seam. Be sure to be on the inside of the stitching for the ribbons. Stop, lift the presser foot, and turn the fabric at each corner. Remember to back stitch at the end of the opening.
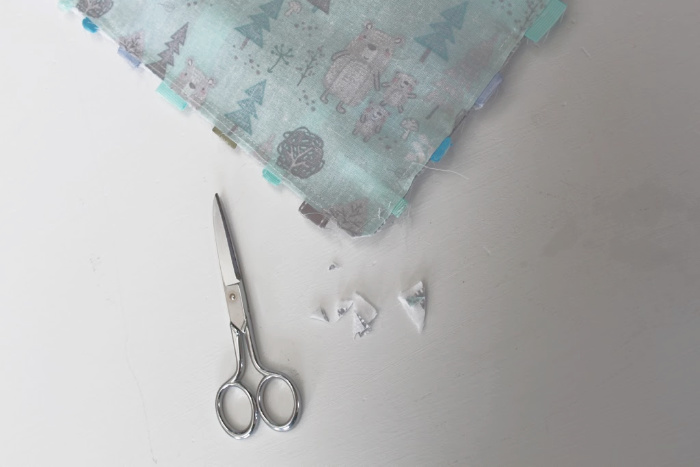
Once everything is stitched together you will need to trim the corners. Trimming the corners cuts out the bulk and gives nice sharp corners when you flip the taggie right side out.
Let’s Finish!
Next, go to the opening you left for turning.
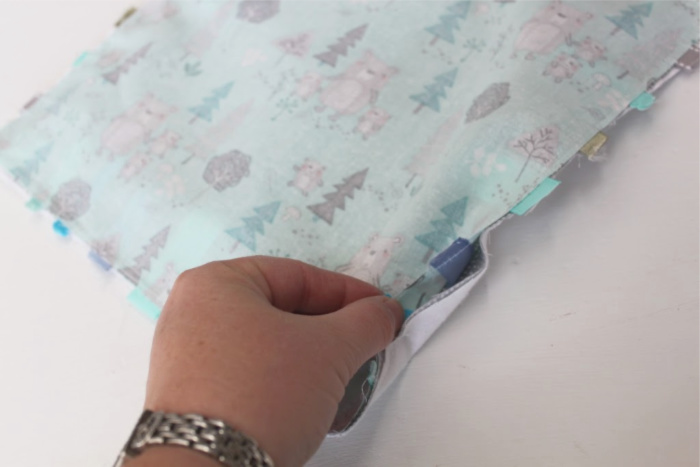
Carefully start feeding the fabric through the opening. Your back stitches and patience will keep the seam from coming apart. Continue slowly turning the fabric until it is right sides out.
Get a your corner tool or something you can use to poke the corners out square. A chopstick or dowel work great!
Use the opening to place the tool inside the taggie. Move it around from corner to corner until they are all square.
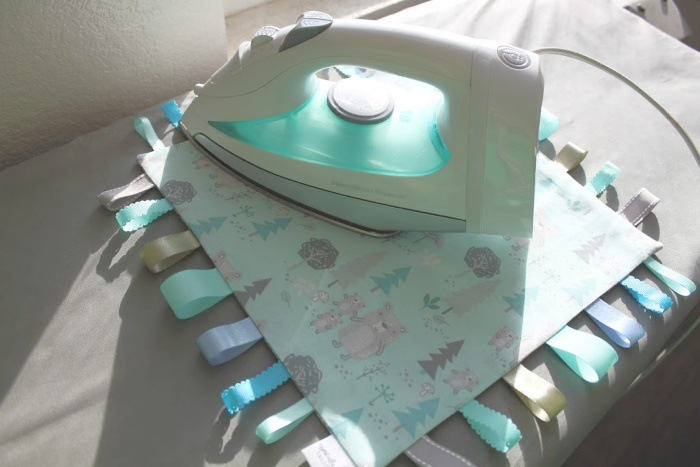
Press the fabric with a hot steam iron. Make sure the opening is folded and pressed under for top stitching.
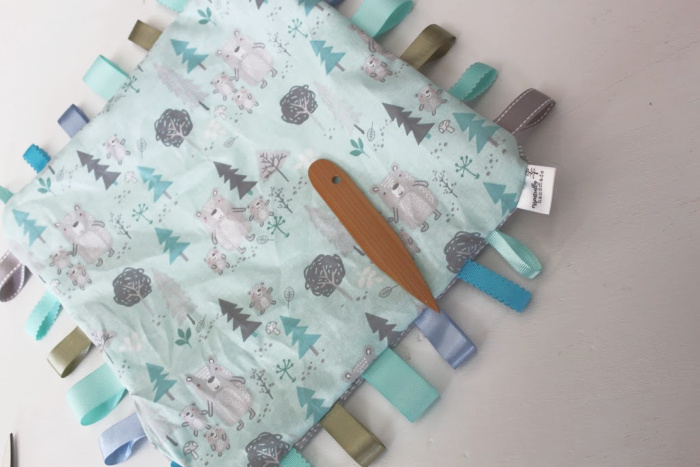
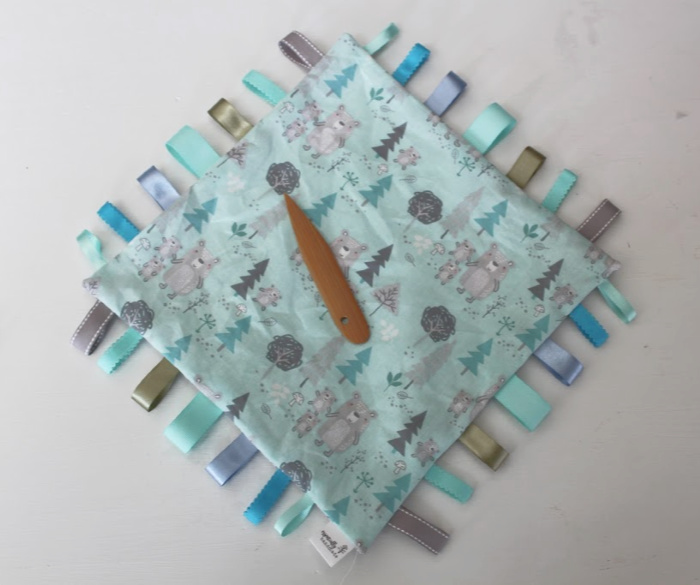
Finally, go back to the sewing machine and put a 1/8 inch seam top stitch around the entire taggie. Trim off any thread. You’re finished! You have created a beautiful fun Taggie Blanket!
Pair the Taggie Blanket with a Hooded Baby Towel for a great baby shower gift!
I wish I had this tutorial when my twin grandsons were younger!
Great step by step instructions!
Thank you!
This is just the sweetest little project! What a wonderful handmade gift for any baby!
The taggie blankets are so much fun!
This is so cute and seems easy!
It really is! I think the most time consuming part is getting the ribbons ready. After that, It’s quick!
So cute! I really need to learn how to sew. A goal for 2020!
Oh my goodness, yes! It is such a great skill to have!
So cute and creative! Love all your pictures and this detailed tutorial!
Thank you!
Those tags are all they want some days!!! haha! I love this, and what a great gift to make for my friend having her first baby.
You are so right! Babies and tags go together!
Oh yes! The ribbon edges are finished, so they hold up well to washing.