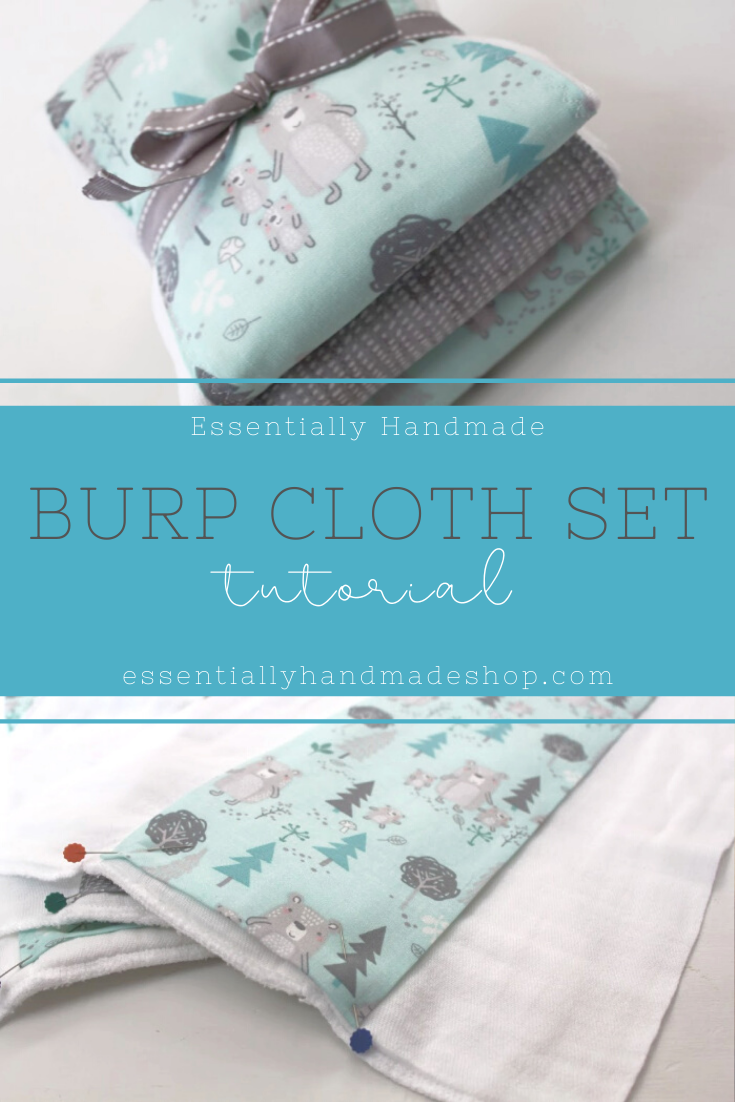
Let’s round out the baby shower gift basket today! This baby burp cloth set tutorial is the final touch to the sweet hooded baby towel and baby taggie blanket you’ve already made!
If you think these baby gift sets are adorable, but you’re not up to making them head over to the shop and scoop up a set before they’re gone for good!
What You’ll Need
This post may contain affiliate links. If you click on one of my affiliate links and make a purchase, I may receive a commission for referring you. This comes at no additional cost to you.
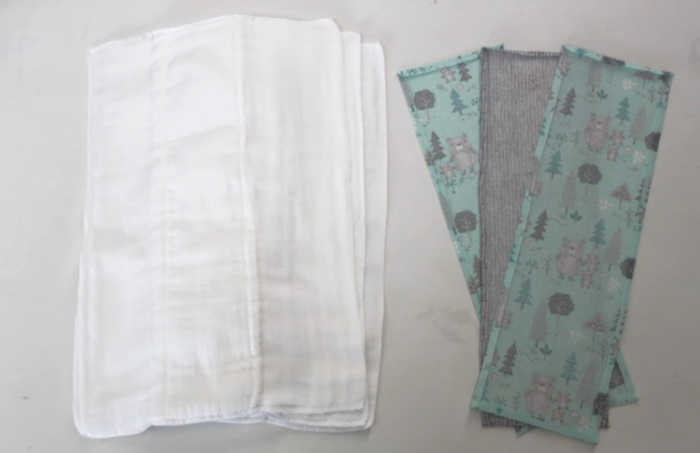
First, you’ll need to pick out your fabric. I recommend using the same fabric as the taggie blanket. You’ll have a polished, coordinated gift when everything matches. Get 1/2 yard of each print.
Also, pick up some 6-ply cotton cloth baby diapers. I prefer the Gerber brand for their size and quality. You will use three of them to make this set.
Finally, make sure you have white thread, a happy sewing machine, fabric scissors, a ruler, coordinating ribbon, and straight pins.
Cut and Iron
Once you’ve chosen your fabric you will need to cut it to size and iron the edges. Cut 2 pieces of the main print fabric 6 inches wide and 18 inches long. Make sure you pay attention to the direction of the print. You want to have the print going from top to bottom on the burp cloths. Cut 1 piece of the coordinating print 6 inches wide and 18 inches long.
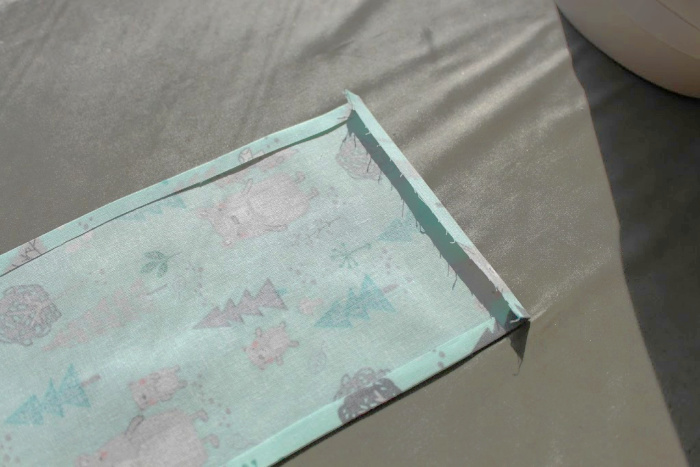
Now that you’ve cut your fabric you will need to fold in and iron your edges. Turn the fabric to the wrong side and fold over the edge of each side about 1/4 of an inch and press down with a steam iron. I recommend doing both long sides first and then the top and bottom edges.

After the edges are pressed you will need to miter the corners. This simply means trimming the extra fabric at an angle on the corners. If you don’t trim the corners fabric will stick out from the underside and your burp cloth will not look like it was made well.
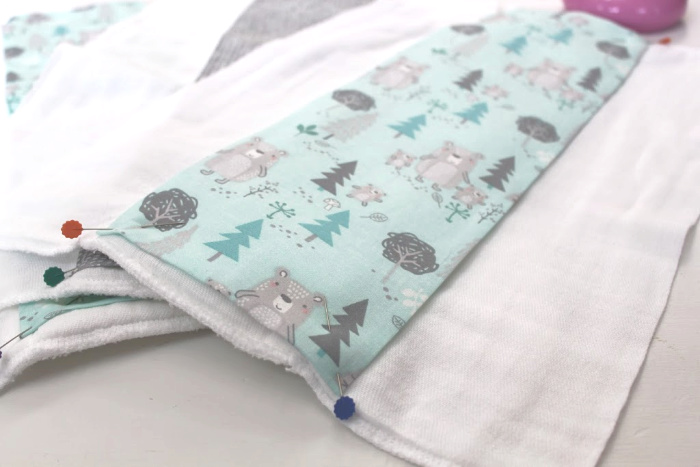
When all three of the pieces of fabric are pressed and trimmed it is time to pin them to the cloth diapers. Center each piece of fabric on the cloth diaper and pin at each corner.
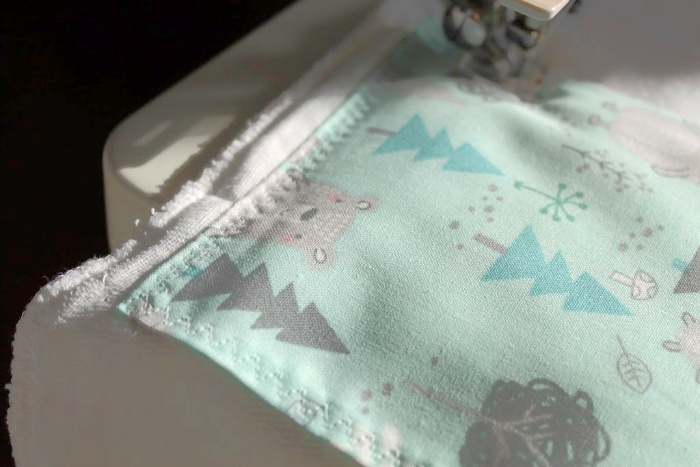
Sewing Time!
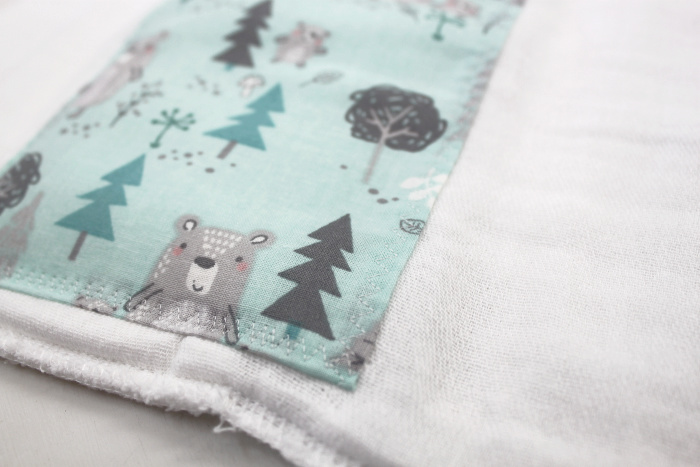
To make a fun finished edge I prefer a three-step zigzag. It holds the fabric to the cloth diaper well and holds up in the wash beautifully. Start on a long edge from top to bottom. Reset and stitch the short edge. Continue to the next long side and finish off with the last short side. Trim off the thread from each corner on both sides of the fabric.
Repeat this process with the other two cloth diapers.
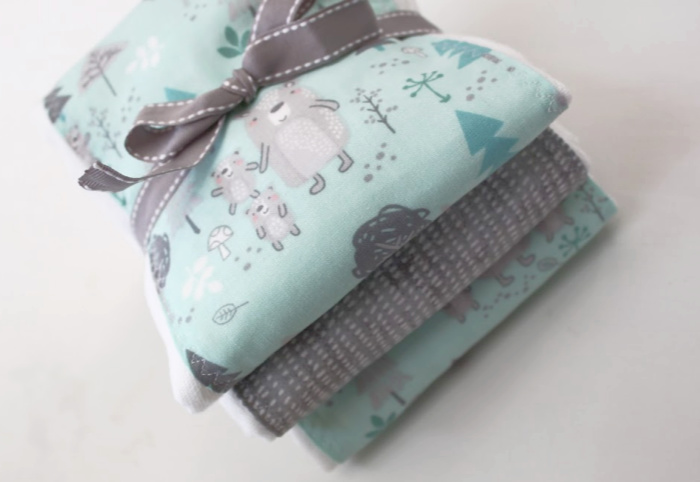
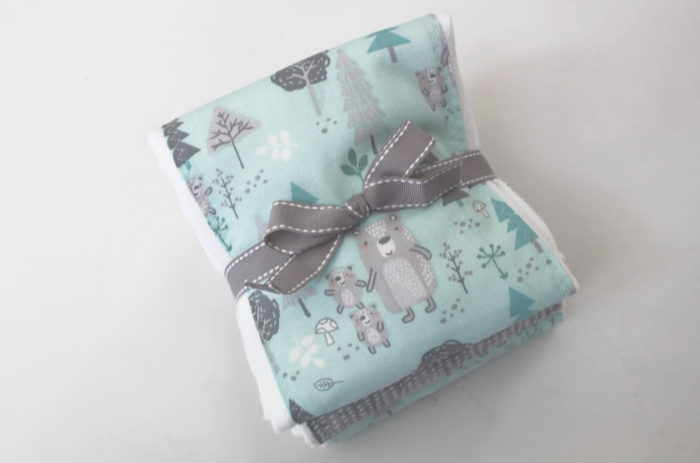
After completing all three burp cloths, you’re ready to finish them off for gifting. Fold each diaper with the sides in and from there fold into thirds. Place the raw edge facing the top of the burp cloth. Stack with the main prints on top and bottom. Wrap with a ribbon and tie a bow. Use a lighter to finish the ribbon edge to prevent fraying.
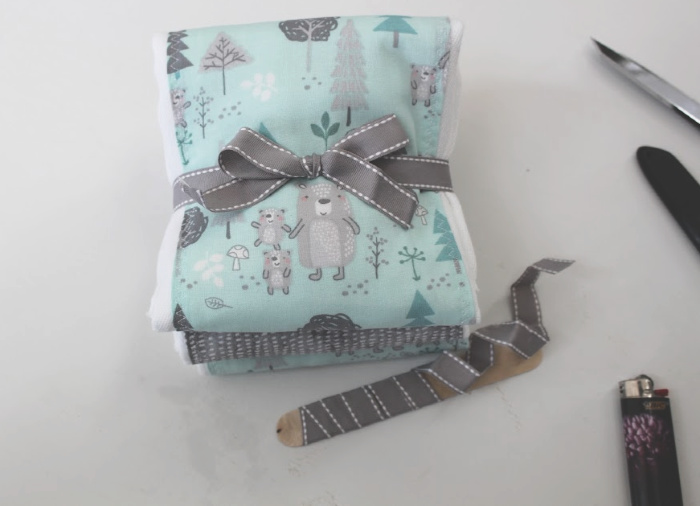
Voila! You have an adorable and handy baby burp cloth set to complete your baby shower gift basket!
Pin it for Later!