Sometimes you just need to create something. Making this DIY Christmas Sign on a budget was just what my creative soul needed!

On a Budget
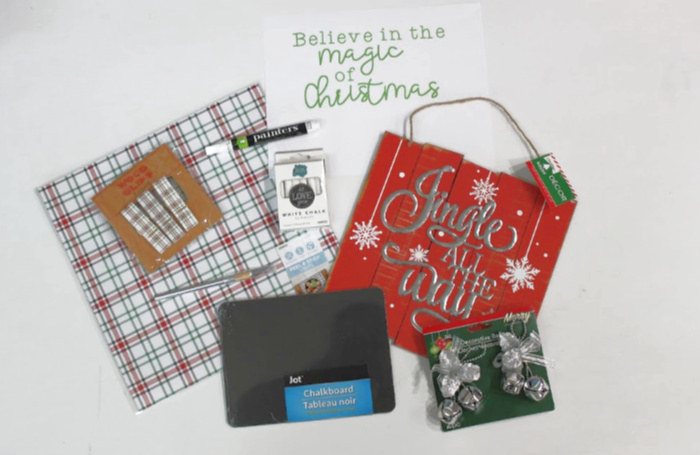
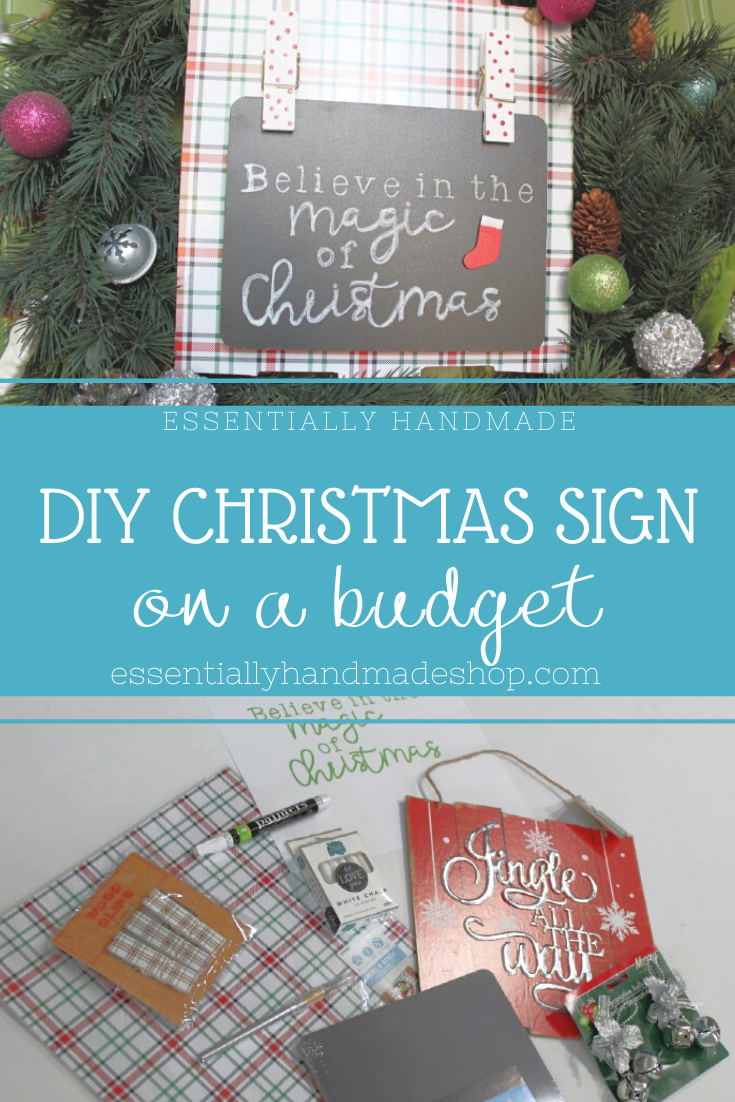
I’m sure most of you are like me and you don’t have a huge budget to use when the crafting bug hits. I decided to see what I could do with what Dollar Tree and Bullseye’s Playground had available.
First, I went to Dollar Tree and found a few key pieces. I grabbed a sign with a neat shape, a blank chalkboard, and some bells. Next, I went to Target. Bullseye’s Playground had so many crafting choices! I wound up with a plaid vinyl sticker sheet, oversized clothespins, and a package of self-adhesive wooden accents.
DIY Sign
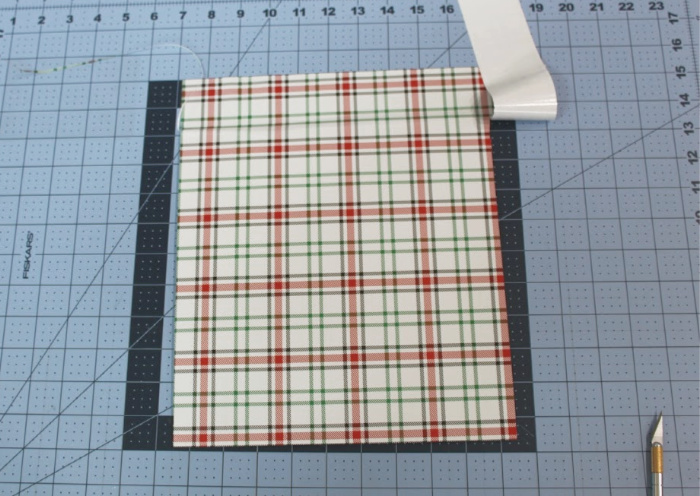
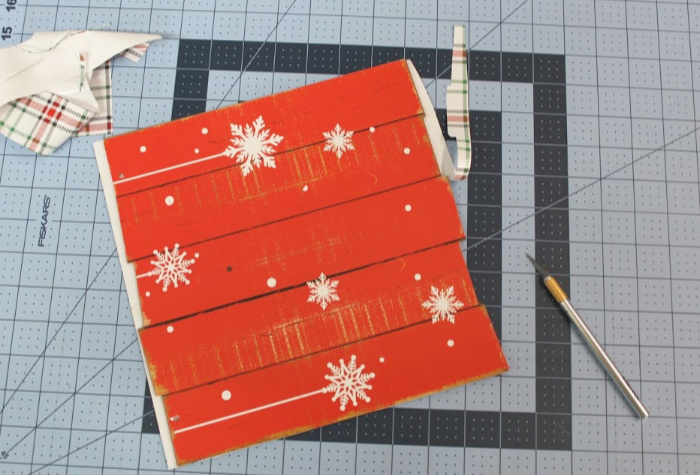
The first step in this DIY was making over the hanging sign. I took off the metal words and set them aside for another day. Next, I attached the vinyl to the back of the sign. I peeled the backing and placed the sign down.
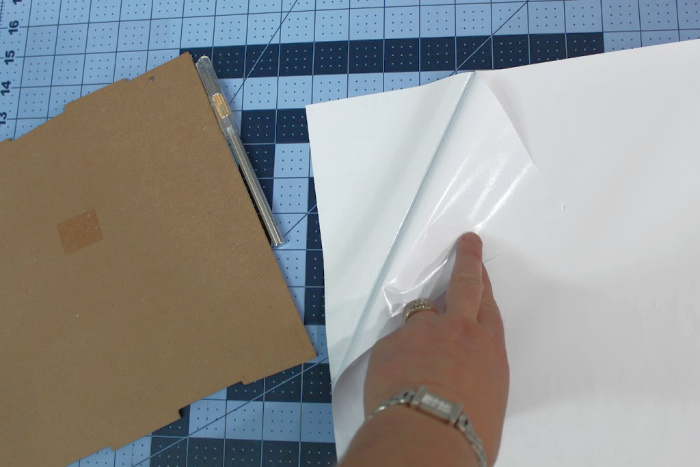
Be sure to press all over the back of the sign to get out any air bubbles.
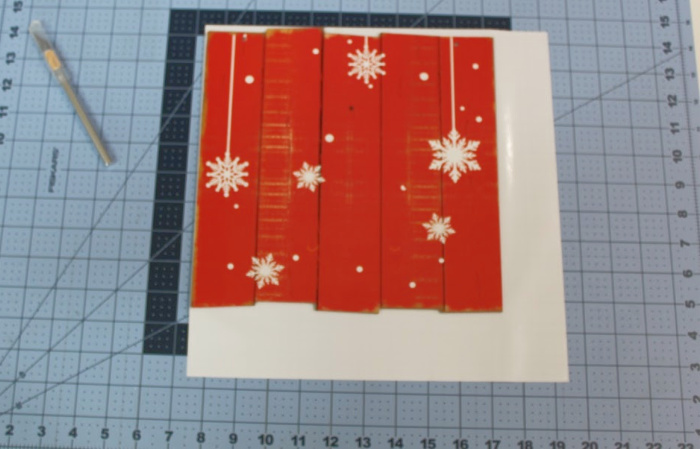
Once you’re sure the vinyl is smooth flip over the sign to trim the edges with an X-Acto knife.
Don’t rush this step. You want clean, smooth edges.
Simple DIY Chalkboard Sign
Now that the background is ready, it’s time to make your faux chalkboard sign. There are a few reasons I use white paint pens on my chalkboard signs instead of chalk. The main reason is durability. As a boy mom I know that little hands touch everything in the house and I don’t want my creations to turn into a smeared disaster.
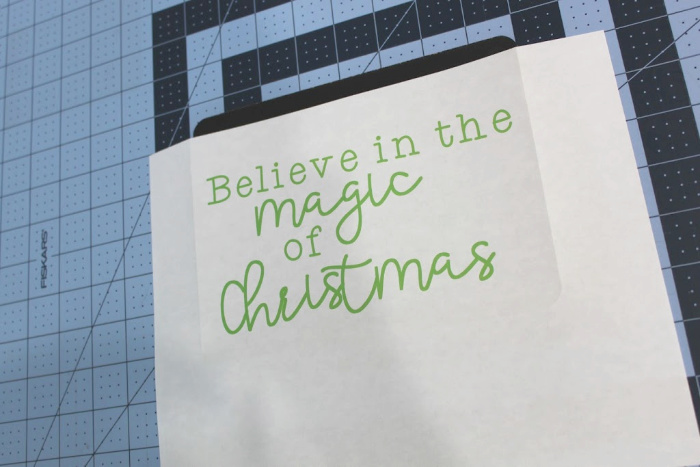
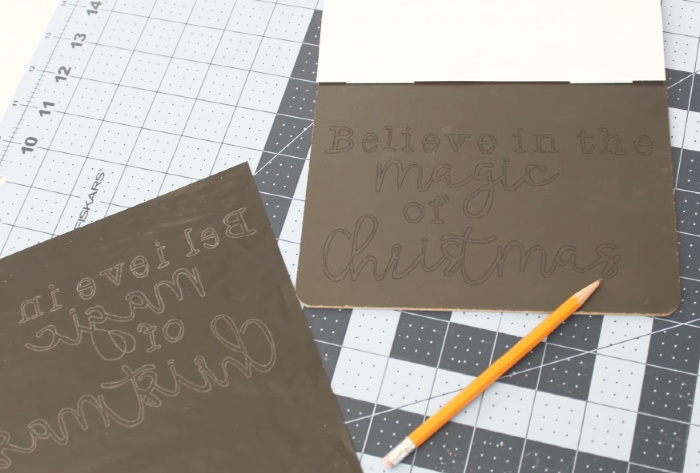
Free-hand lettering is not a talent I have yet, so I have a great method for getting my sayings just right on my signs. Carbon paper. I simply design my saying in Publisher on the computer, print it, and use the carbon paper to trace my design. It works every time!
I begin by lining up my print out and creasing the edges around the chalkboard.
Then I cut the paper and tape it to the chalkboard.
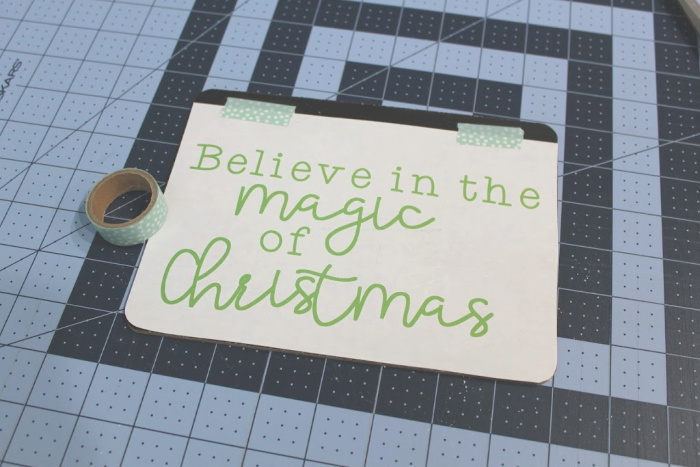
After that, slip the carbon paper between the print out and the chalkboard.
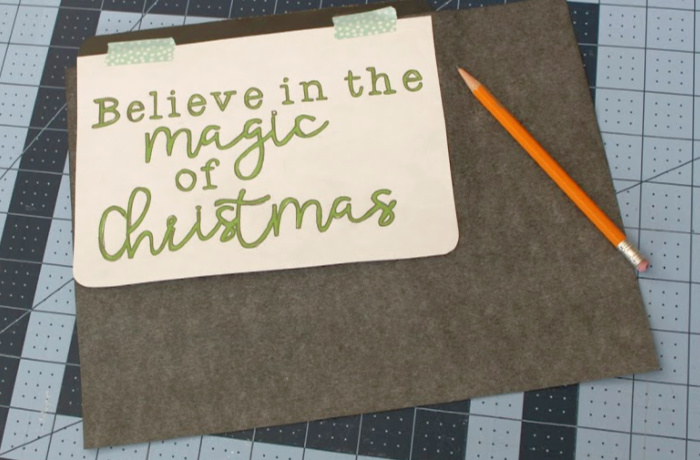
Trace around each word. When you are finished lift up the paper to make sure you didn’t miss any of the letters, loops, or dots.
Now you get to fill in the letters with your paint pen. For a project like this I recommend an extra fine tipped pen. If you were creating a larger sign you could use a broad tipped pen.
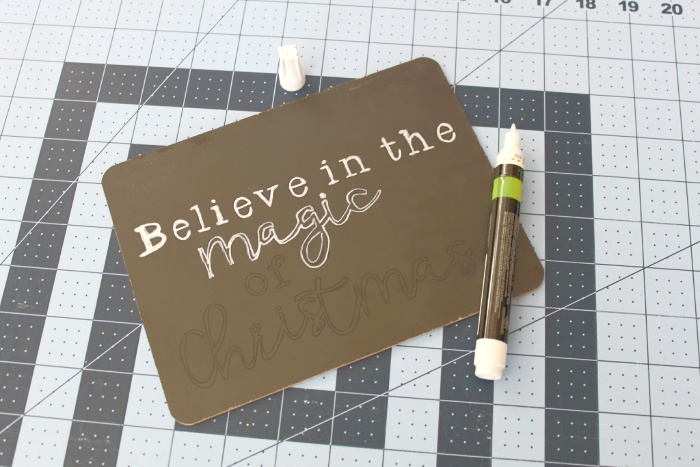
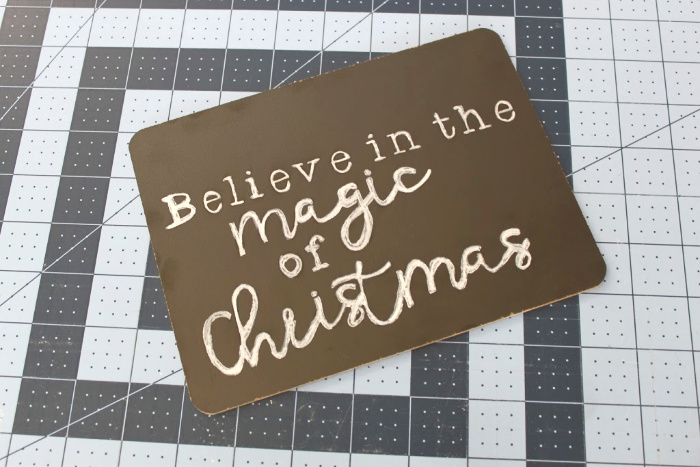
Finish up all of the lettering and let it dry. Once everything is dry take a cloth or paper towel to remove any of the leftover carbon on the chalkboard.
Finish Up
This post may contain affiliate links. If you click on one of my affiliate links and make a purchase, I may receive a commission for referring you. This comes at no additional cost to you.
Gather up all your pieces so you can put your sign together.
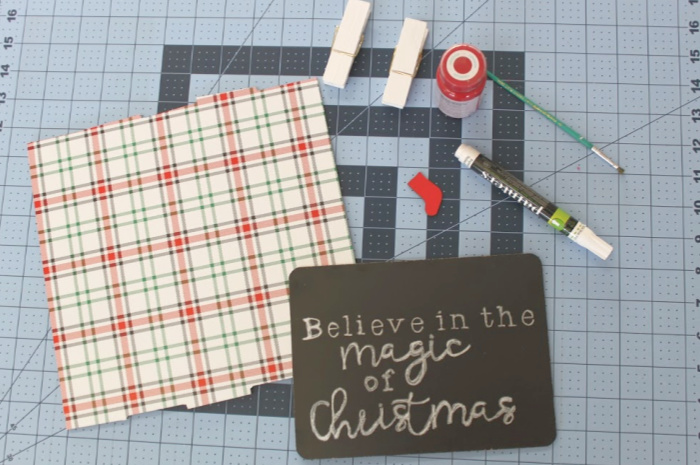
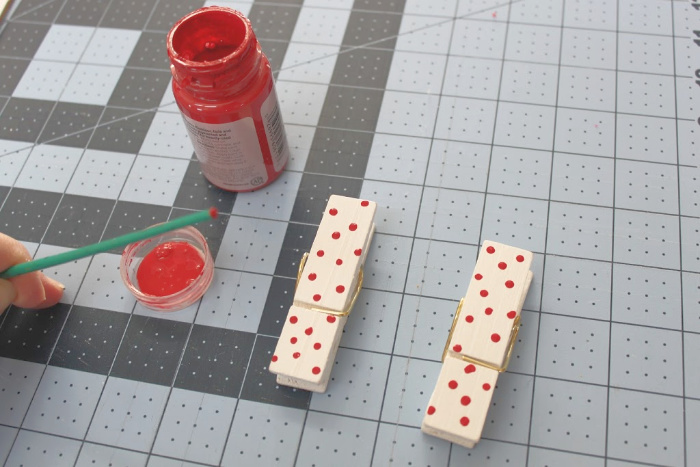
I decided I wanted the clothespins to have a little something extra, so I used the end of a paint brush to add polka dots. If you’ve been around here long, you know I love polka dots.
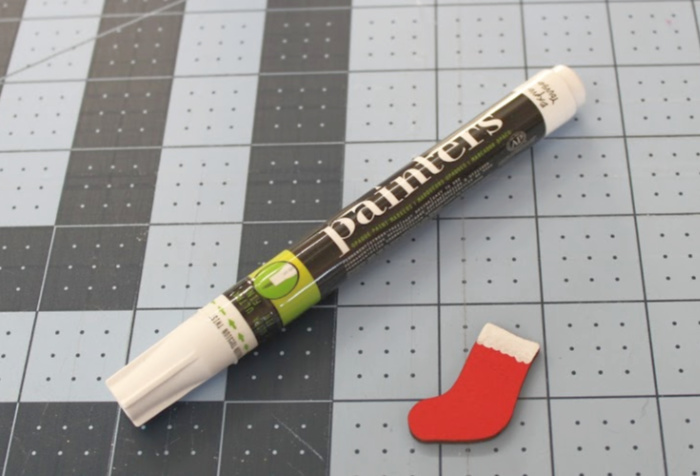
I couldn’t leave the stocking alone either. I used the paint pen to add a little white trim along the top.
Set up your glue gun to get this sign finished.
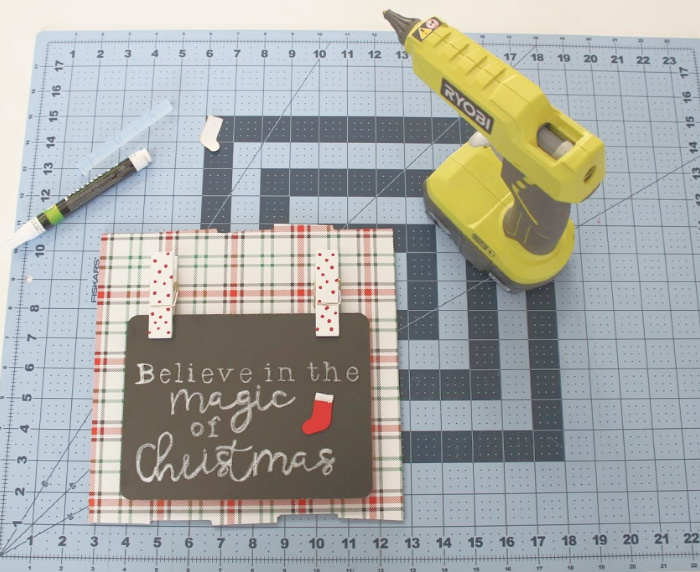
Finally it’s time to glue down the clothespins and stick on the stocking. Line everything up evenly and glue generously. Reattach the jute cord to the top of the sign and you are finished!
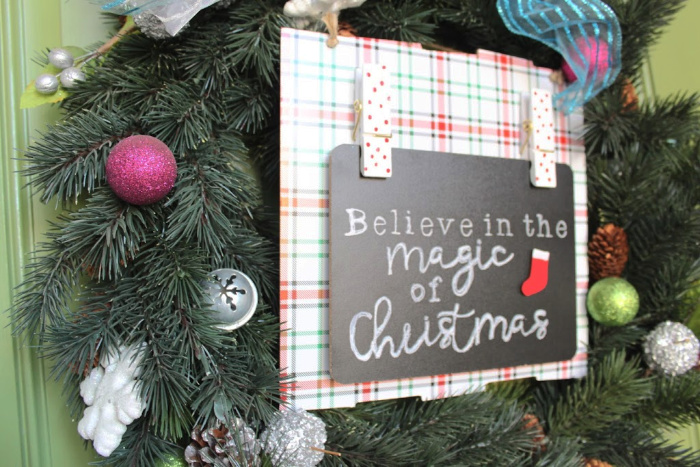
Fun, easy, and less than $5 for a super cute sign! You could even use the back or buy extra chalk boards to change out the sayings all season long!
Pin it for Later
Want more creative ideas? Check out the blog for more DIYs and recipes.
Printable
Here’s the saying I created. Just print it out and you can make your own adorable sign!

This is great. Thank you!!
I’m so glad you stopped by!